Sunday, Feb. 15, 2026
My intent was to shoot video of me disassembling the driver’s door window mechanism; unfortunately, I couldn’t get as far as I wanted.
The screws that secure the bottom of the window frame to the track were rusted tight. I cranked on them as hard as I could without stripping the phillips heads. I shot a couple of shots of Kroil on them. The screwdriver I was using — an ancient and well-worn Craftsman dated 1985 — began stripping and damaging the screw head, due mostly to its 40 years of normal wear and tear.
So I went to Tractor Supply Co. and bought two new No. 2 phillips screwdrivers, one long, one short. Hopefully I’ll have better luck with them tomorrow.
The drivers door had never been taken apart, so inside the bottom of the door I found that the sound insulation glued to the inside surface of the outer door skin had delaminated, and was curled up at the bottom of the door. Its curled up shape served as home to God knows how many mouse nests; the thing was packed with nests!
Rather than rehab the original window mechanism, I’m pretty sure I’m going to opt to buy a new reproduction one that won’t need to be rehabbed. The one I took time to rehab on the passenger door is still too stiff when you roll the window up or down, a disappointment for me and a pain in the ass for my wife.
I have the materials to rehab the door, included new fuzzy tracks, glass, etc. On my passenger door, there was no glass on that side, just a jammed window regulator, so I didn’t have to deal with which to remove first — the window glass or the wing vent assembly.
KEEPING IT SIMPLE. One of the mistakes I made on the passenger side was drilling out ALL the rivits that connected the wing vent channel to the upright frame. That wasn’t necessary. Tonight I watched a guy remove and replace the wing vent rubber without removing the wing vent “U” frame from the rest of the assembly.
I think it’ll go pretty quickly. Now I had removed the garnish moldings for both doors and actually painted them many months ago, but they’ve laid around the shop since, and I’m not going to vouch for what they look like now.
I used a quality rattle can spray paint, with mixed results. I have since purchased a 2k black urethane to paint the trim with, if necessary.
I’m probably going to order a new window regulator for the driver’s door just so i don’t have to fuck with the 70-year-old one. I can get a reproduction one for $99 — saves time and will work as long as I’m alive (and probably long after I’m gone). I’ve had thoughts of replacing the one on the passenger side, just for ease of operation.
The YouTuber in the video used a similar method to get his vent rubber seal installed — he lubricated the back side of the gasket and pressed it into the channel. I’ll make sure to have a video of all the work I do this time.
LET THERE BE (DASH) LIGHTS. I need to remove the dash cluster and replace the bulbs or the wiring to get all the dash lights working again. I would be nice to have the original speedometer working again. Apparently, there exists an interface that connects to the electrical connection on the T-5 tranny and converts those inputs into rotation of the speedometer cable. All it takes is money, lol!
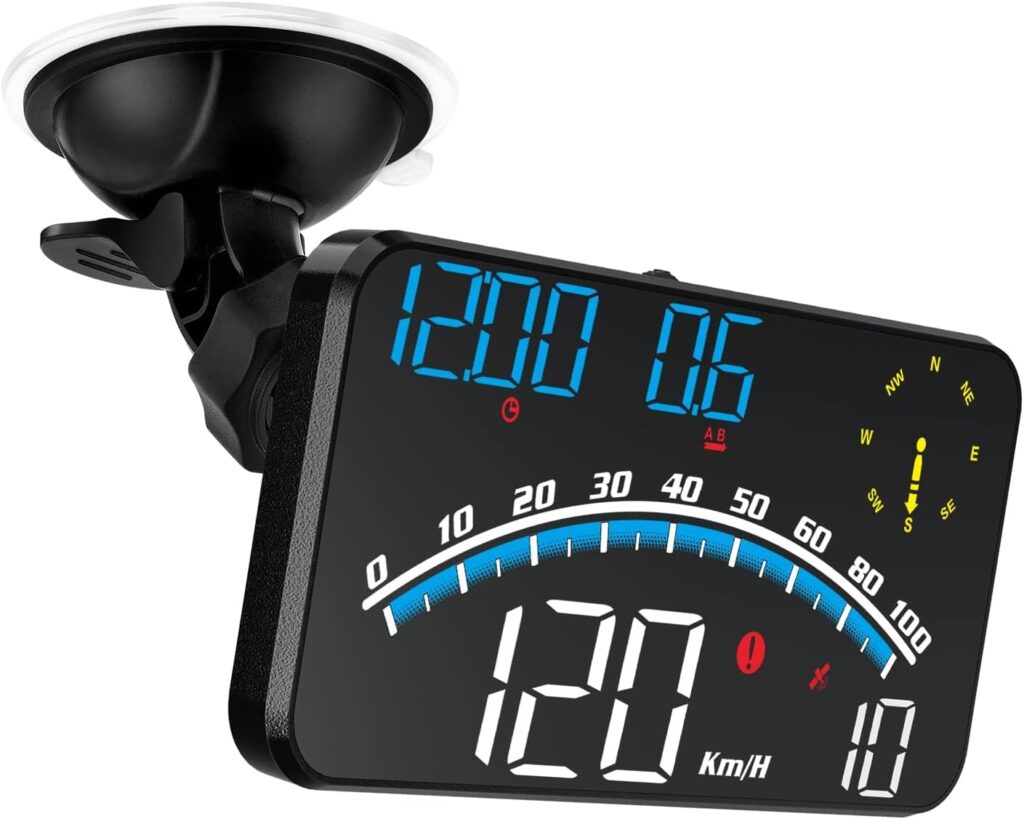
In the meantime, I have a very nice windshield mounted digital speedometer that operates from GPS satellites. Provides speed, distance traveled, GPS coordinates, etc. Nice unit, and it wasn’t expensive.
Related Posts

Driver’s door quest: Finally got ‘er done!
Monday, April 20, 2026 Well, I'm getting closer to the…
Work on driver’s door rehab awaiting final part delivery
Saturday, April 4, 2026 My mechanical rehab of my 55…

Rusted fasteners defeated (finally!); parts order coming next …
Tuesday, March 24, 2026 Well, I'm happy to report that…