Friday, Oct. 16, 2026
Due to website work and other chores I didn’t get to spend much time in the shop today. Hopefully I will tomorrow.
I have the rear seat in the wagon folded down, and so far I’ve removed the original vinyl from the bottom of the rear seat bottom cushion. The vinyl on the seat back is split in the middle and already is peeling. I have much of the original chrome trim to remove, then I can remove the vinyl. The wood appears to be in good shape on both parts of the seat, so once the vinyl is removed, I’ll probably hit the plywood with a DA sander to remove any remaining adhesive.
I haven’t looked at it closely yet, but the front part of the rear seat is not level with the folded down seat back. Not sure what’s different, but the mismatch is significant. I haven’t checked the integrity of the pivot points on the bottom cushion to make sure the bottom seat is attached correctly to its pivot points.
Once I get both of those sections prepped, then its on to trying to determine where the original screws were located that secured the cargo flooring plywood to the metal floor. I ordered a set of original screws for the 1/2-inch plywood, and my landy, those screws are NOT much longer than the thickness of the plywood!
Dan on DD Speed Shop (YouTube) had to fix leaks on this Nomad fuel tank because he used overly long screws to secure the plywood flooring in his cargo area, which punched a number of holes in the tank. Yikes! Want to avoid that for sure!
The next step is to secure the cargo flooring and position the narrow sections on each side of the spare tire well. I’m going to buy some chrome/aluminum/stainless moldings for the cargo floor edges since I’m missing all of the original trim.
I do have reproduction parts to secure the forward edge of the spare tire cover. I don’t see that as a huge issue, though I’m going to wind up using a factor style finger hole in the cover to lift and pull it back to remove it.
I have a compact spare tire now in the wagon’s spare tire well, along with a heavy duty scissors jack, a four-way wrench and have room for some other tools, like tire inflator, impact wrench, etc.
I’m also working to make a list of spares to keep in the wagon when we travel a distance in it. For starters, I’m thinking things like:
- New HEI distributor
- New plug wires
- Set of spark plugs
- Radiator hose or hose repair kit
- At least one headlight, prolly sealed beam
- generic wiring, crimpers, soldering iron, solder
- Tire inflator with tire plug kit / fix-a-flat
- Socket set with ratchets, extensions
- Work gloves, safety glasses, dust mask
- Safety flares/triangles/etc.
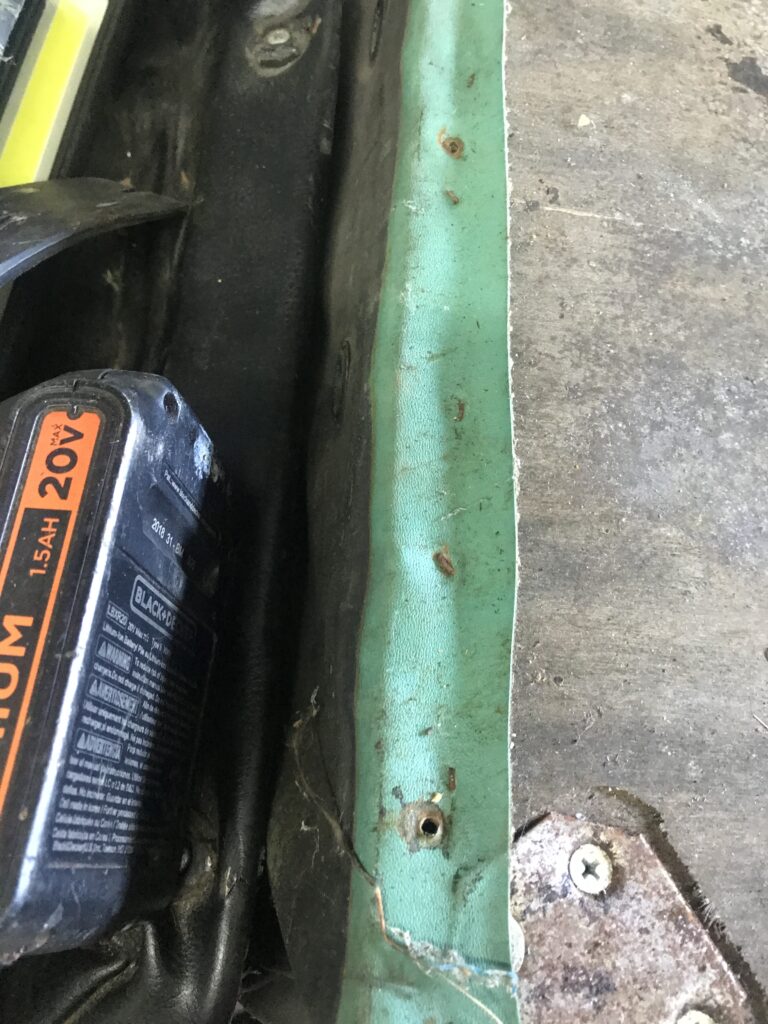
WHAT’S IN A COLOR? After removing the vinyl from the rear seat bottom (all in one piece, I might add!), the color of the original vinyl came shining through.
The original Nomad upholstery was two-tone, beige and green, with beige being the trim color. The green was a bright green color that closely matches Sea Mist Green paint. This isn’t a clue however to the car’s original paint scheme since its a wagon and seat upholster indicates the rear seat was originally in a Nomad.
There is factory paint color still evident inside door panels, etc. Ironically, to my eyes, the original color also seems to be Sea Mist Green, but I’ve not compared a paint chip to the existing paint to confirm this.
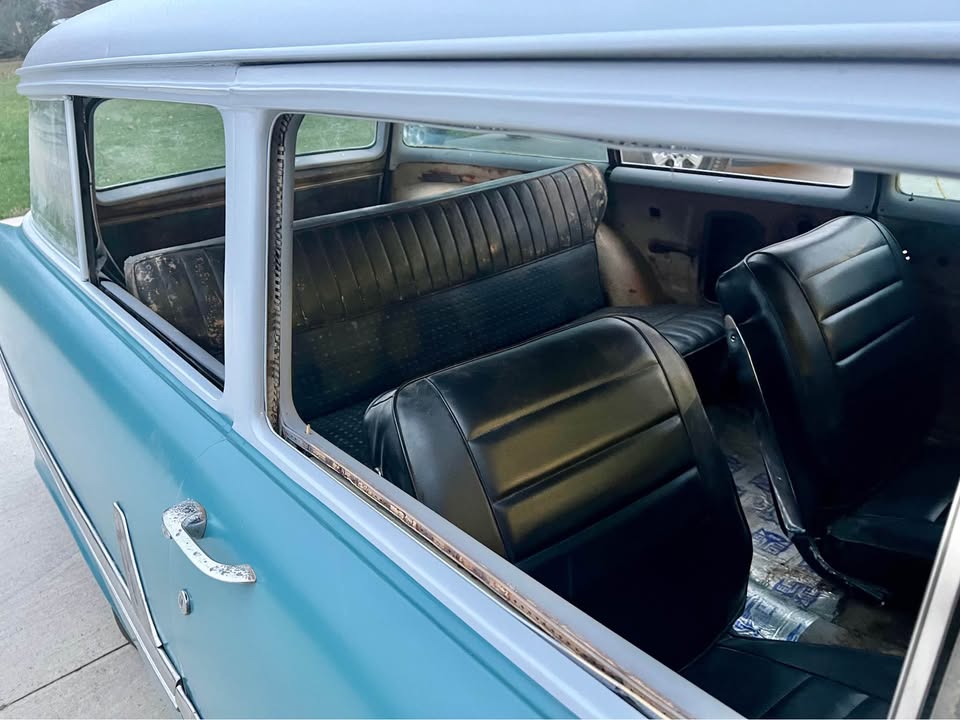
MORE PAINT HISTORY. At some point, the car was painted a medium yellowish color that’s still visible in door openings, etc. Not a very attractive color.
When I tackle painting the wagon, I’m thinking of going back with the original color paint. The car is two-toned, with everything above the beltline painted a light gray, which was NOT a factory color option.
CARGO AREA WORK AGENDA. Once I have the vinyl removed from the back to the rear seat cushion, the next job is to secure the new plywood to the cargo floor. Once that’s done, the next job is to trim the side floor panels to make them fit properly on both sides of the spare tire cover.
The 90-degree metal trim I plan to use to border the cargo floor panels is usually a sticky-back affair. I’m considering drilling some holes and using chrome head screws to secure the moldings in place in the (very likely) event the stick-um doesn’t hold.
SIDE PANELS, ANYONE? Not sure yet how to address the side panels in the cargo area. Originally, there was some upholstering that went between the wheel well and the garnish molding on each side of the cargo area. I’m leaning toward just painting the wheel wells a flat or textured black paint, mostly because the wheel wells have curved edges at the top, and trying to fit them with vinyl is going to be a problem.
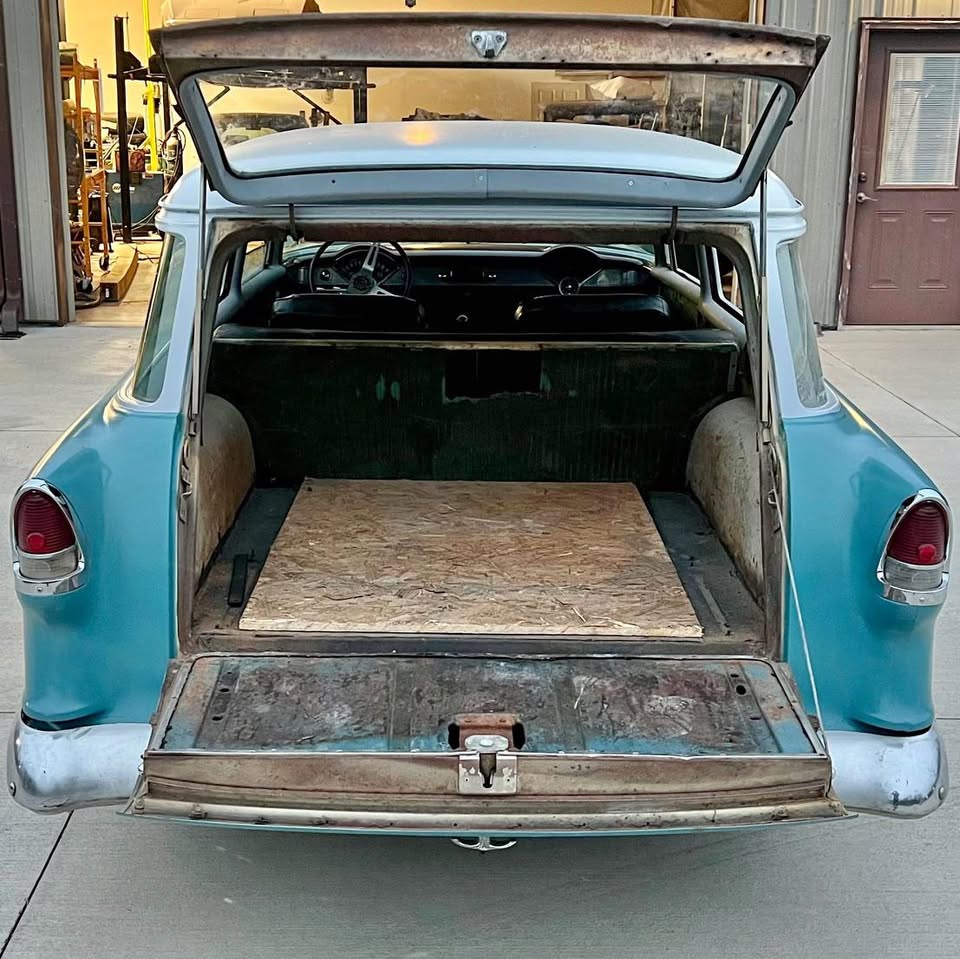
Not sure what I’ll do, but as my father said many times, “Keep it simple, stupid!”
I’m anxious to get the cargo area flooring installed and done. Then on to other projects!
55 CHEVY WAGON WANT LIST.
- door weatherstripping
- rear tailgate, liftgate weatherstrippping
- belt-driven A/C
- remove original heater core system.
- move alternator to driver’s side
- replace rear springs / remove 2″ lowering blocks.
I’m sure there are other things I’ll remember two minutes after I post this, but hey, that’s life, right???
-30-
Related Posts


Prepping the Chevy for possible Tri-Five road trip … IF the weather will cooperate!
Thursday, Aug. 6, 2026 Spent several hours in the shop…
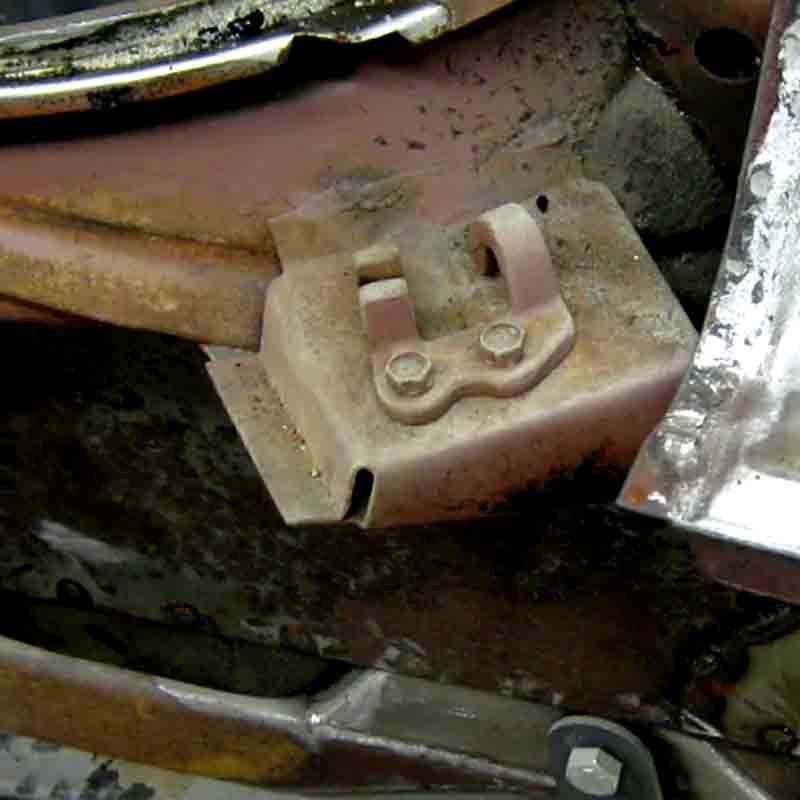
Driver’s side tail gate cable repairs; passenger side is next
Sunday, Aug. 16, 2026 With my son's help, we got…